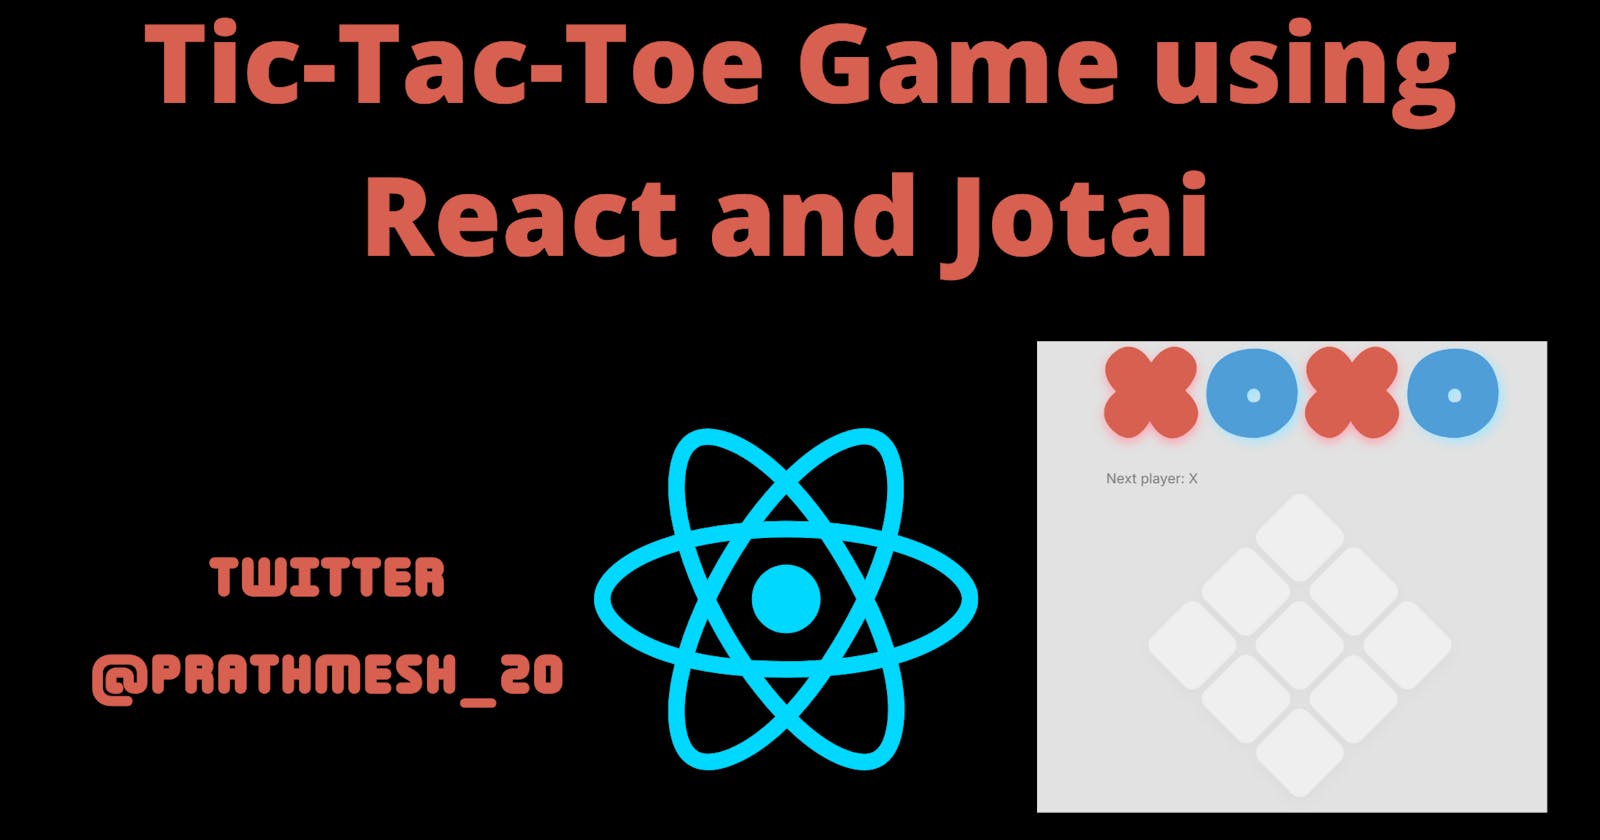


Creating a Simple Tic-Tac-Toe Game using React and Jotai for state management.
What is Jotai?
Jotai is a React state management library
Build state by combining atoms and renders are automatically optimized based on atom dependency. This solves the extra re-render issue of React context, eliminates the need for memoization, and provides a similar developer experience to signals while maintaining a declarative programming model. It scales from a simpleuseStatereplacement to an enterprise TypeScript application with complex requirements.
Though this is just a simple application our goal is to get started with jotai and learn it along the way.
Prerequisite
Should be familiar with basic react and react concepts.
We will not be covering CSS.
keeping Jotai documentation handy
Getting Started
Let's start with a basic react code stackblitz
First, we will create our tic-tac-toe game board
import "./styles.css";

export default function App() {
  function Square({ field }) {
    return <button className="square">{field}</button>;
  }

  return (
    <div className="game">
      <h1>
        x<span>o</span>x<span>o</span>
      </h1>
      <div className="board">
        {[0, 1, 2, 3, 4, 5, 6, 7, 8].map((field) => (
          <Square key={field} field={field} />
        ))}
      </div>
    </div>
  );
}
This will create a basic 9 boxes board for tic-tac-toe game
You can get the starting code from here
Adding Functionality
Now we will be using Jotai for state management
first, we need to install jotai into our application
npm i jotai
First, we will wrap our App component inside the Provider The Provider component is to provide a state for a component sub-tree. Multiple Providers can be used for multiple subtrees, and they can even be nested. This works just like React Context.
import { StrictMode } from "react";
import { createRoot } from "react-dom/client";
import { Provider } from "jotai";

import App from "./App";

const rootElement = document.getElementById("root");
const root = createRoot(rootElement);
root.render(
  <StrictMode>
    <Provider>
      <App />
    </Provider>
  </StrictMode>
);
Main Logic
First, we will declare a sqaureAtom in our application using jotai Atom
const squaresAtom = atom(Array(9).fill(null));
An atom config is an immutable object. The atom config object doesn't hold a value. The atom value exists in a store.
A primitive atom can be any type: booleans, numbers, strings, objects, arrays, sets, maps, etc.
here we are declaring an atom which holds an array of null values.
To use this atom we use useAtom similar to use state
const [squares, selectSquare] = useAtom(squaresAtom);
For example, replace null with "1" in the squareAtom array and pass squares in our div board you will see 9 squared filled with 1
import "./styles.css";
import { atom, useAtom } from "jotai";

export default function App() {
  const squaresAtom = atom(Array(9).fill("1"));

  const [squares, selectSquare] = useAtom(squaresAtom);

  function Square({ field }) {
    return <button className="square">{field}</button>;
  }

  return (
    <div className="game">
      <h1>
        x<span>o</span>x<span>o</span>
      </h1>
      <div className="board">
        {squares.map((field) => (
          <Square key={field} field={field} />
        ))}
      </div>
    </div>
  );
}
one thing to know more about atoms is that we can also pass one atom to another atom and get a derived value.
For Example
import { atom } from 'jotai'

const priceAtom = atom(10)
const messageAtom = atom('hello')
const productAtom = atom({ id: 12, name: 'good stuff' })

const readOnlyAtom = atom((get) => get(priceAtom) * 2)
const writeOnlyAtom = atom(
  null, // it's a convention to pass `null` for the first argument
  (get, set, update) => {
    // `update` is any single value we receive for updating this atom
    set(priceAtom, get(priceAtom) - update.discount)
    // or we can pass a function as the second parameter
    // the function will be invoked,
    //  receiving the atom's current value as its first parameter
    set(priceAtom, (price) => price - update.discount)
  },
)
const readWriteAtom = atom(
  (get) => get(priceAtom) * 2,
  (get, set, newPrice) => {
    set(priceAtom, newPrice / 2)
    // you can set as many atoms as you want at the same time
  },
)
get in the read function is to read the atom value. It's reactive and read dependencies are tracked.
get in the write function is also to read atom value, but it's not tracked. Furthermore, it can't read unresolved async values in the Jotai v1 API.
set in the write function is to write atom value. It will invoke the write function of the target atom.
The signature of read is (get) => Value, and get is a function that takes an atom config and returns its value stored in the Provider
Once we understand this we can move forward without the game Dont worry if you don't understand this 100% we will see a live example in our game.
First, let's create a next-value atom which will decide the next player value when we begin the game
const nextValueAtom = atom((get) =>
  get(squaresAtom).filter((r) => r === "O").length ===
  get(squaresAtom).filter((r) => r === "X").length
    ? "X"
    : "O"
);
here nextValueAtom takes the squaresAtom array we filter over the array to get the length of "X" and "0" and decide the next-value accordingly.
i.e if both are equal it will be "X" else "O" Here we are considering the first player to be always "X"
if you get this the next one will be pretty easy
let's create a selectSquareAtom which will decide the square in which we click.
  const selectSquareAtom = atom(
    (get) => get(squaresAtom),
    (get, set, square) => {
      if (get(squaresAtom)[square]) return;
      set(
        squaresAtom,
        get(squaresAtom).map((sqr, sqrIndex) =>
          sqrIndex === square ? get(nextValueAtom) : sqr
        )
      );
    }
  );
here first we are getting our squaresAtom Array and then first check if the square which is clicked is already clicked. If not we are mapping over the array and with the help of the index selecting the square, if you note here we are using nextValueAtom to fill in the value of the square, this is how we connect the dots
Our Game is almost ready at this point Our code looks something like this
import React from 'react';
import './style.css';
import { atom, useAtom } from 'jotai';

export default function App() {
  const squaresAtom = atom(Array(9).fill(null));

  const nextValueAtom = atom((get) =>
    get(squaresAtom).filter((r) => r === 'O').length ===
    get(squaresAtom).filter((r) => r === 'X').length
      ? 'X'
      : 'O'
  );

  const selectSquareAtom = atom(
    (get) => get(squaresAtom),
    (get, set, square) => {
      if (get(squaresAtom)[square]) return;
      set(
        squaresAtom,
        get(squaresAtom).map((sqr, sqrIndex) =>
          sqrIndex === square? get(nextValueAtom) : sqr
        )
      );
    }
  );

  function Square({ i }) {
    const [squares, selectSquare] = useAtom(selectSquareAtom);
    return (
      <button
        className={`square ${squares[i]}`}
        onClick={() => selectSquare(i)}
      >
        {squares[i]}
      </button>
    );
  }

  return (
    <div className="game">
      <h1>
        x<span>o</span>x<span>o</span>
      </h1>
      <div className="board">
        {[0, 1, 2, 3, 4, 5, 6, 7, 8].map((field) => (
          <Square key={field} i={field} />
        ))}
      </div>
    </div>
  );
}
we have used the selectSquareAtom atom inside to Square component and are calling the selectSquareAtom function on click.
Our game is ready we need to decide the winner now for that, we will create a winnerAtom
 const lines = [[0, 1, 2], [3, 4, 5], [6, 7, 8], [0, 3, 6], [1, 4, 7], [2, 5, 8], [0, 4, 8], [2, 4, 6]]

  const winnerAtom = atom((get) => {
    for (let i = 0; i < lines.length; i++) {
      const [a, b, c] = lines[i];
      if (
        get(squaresAtom)[a] &&
        get(squaresAtom)[a] === get(squaresAtom)[b] &&
        get(squaresAtom)[a] === get(squaresAtom)[c]
      )
        return get(squaresAtom)[a];
    }
    return null;
  });
first, we will declare the lines array consisting of winning possibilities in winner Atom we will look over the lines array and check if the squaresAtom consists of the winning possibilities and return the winner else null value.
Also, we need to end the game as soon as one player is the winner (i.e.) the next player should not be able to click on the board.
for that, we can add winnerAtom in the if condition of selectSquareAtom like this
const selectSquareAtom = atom(
  (get) => get(squaresAtom),
  (get, set, square) => {
    if (get(winnerAtom) || get(squaresAtom)[square]) return;
    set(
      squaresAtom,
      get(squaresAtom).map((sqr, sqrIndex) =>
        sqrIndex === square? get(nextValueAtom) : sqr
      )
    );
  }
);
Our game is ready 🥳 , we can add a status atom to show who is the winner or whose turn is next. This will be quite easy
  const statusAtom = atom((get) => {
    return get(winnerAtom)
      ? `Winner: ${get(winnerAtom)}`
      : get(squaresAtom).every(Boolean)
      ? `Scratch`
      : `Next player: ${get(nextValueAtom)}`;
  });

  function Status() {
    const [gameStatus] = useAtom(statusAtom);

    return (
      <div className="status">
        <div className="message">{gameStatus}</div>
      </div>
    );
  }
here we will add statusAtom which will check the status of the current based on winnerAtom otherwise, we will get the next Player game and we can have the status function to print the value on the dom.
Yeah, we are done with the game, Nice work if you stayed till here hope you learn something new.
Final Link
Link of the Code: code Link of the Application: webapp
Feel free to comment down your thoughts or questions 👇